Jun 8, 2026
Uploading opening Accruals and Prepayments in EasyAccrue
Setting up opening balances in EasyAccrue


How to Upload Your Opening Accruals and Prepayments into EasyAccrue
When you first set up EasyAccrue, you may already have a list of existing accruals and prepayments that you have been tracking manually. Rather than creating each one individually, EasyAccrue lets you import them all at once using a CSV file.
This guide walks you through exactly how to do it.
Setting your business start date
Before you import your adjustments, it is important to set your business start date to a period that has already been completed. For example, if you are setting up EasyAccrue in June 2026, you might set your start date to 1st May 2026.
This allows you to run your first EasyAccrue report and reconcile it directly against your existing manual spreadsheet, giving you confidence that everything has been imported correctly before you start using EasyAccrue for live month end processing.
Why import rather than create individually?
If you have ten or more existing adjustments, importing them via CSV is much faster than creating them one by one. It also reduces the risk of manual errors when entering data.
Step 1: Download the template file
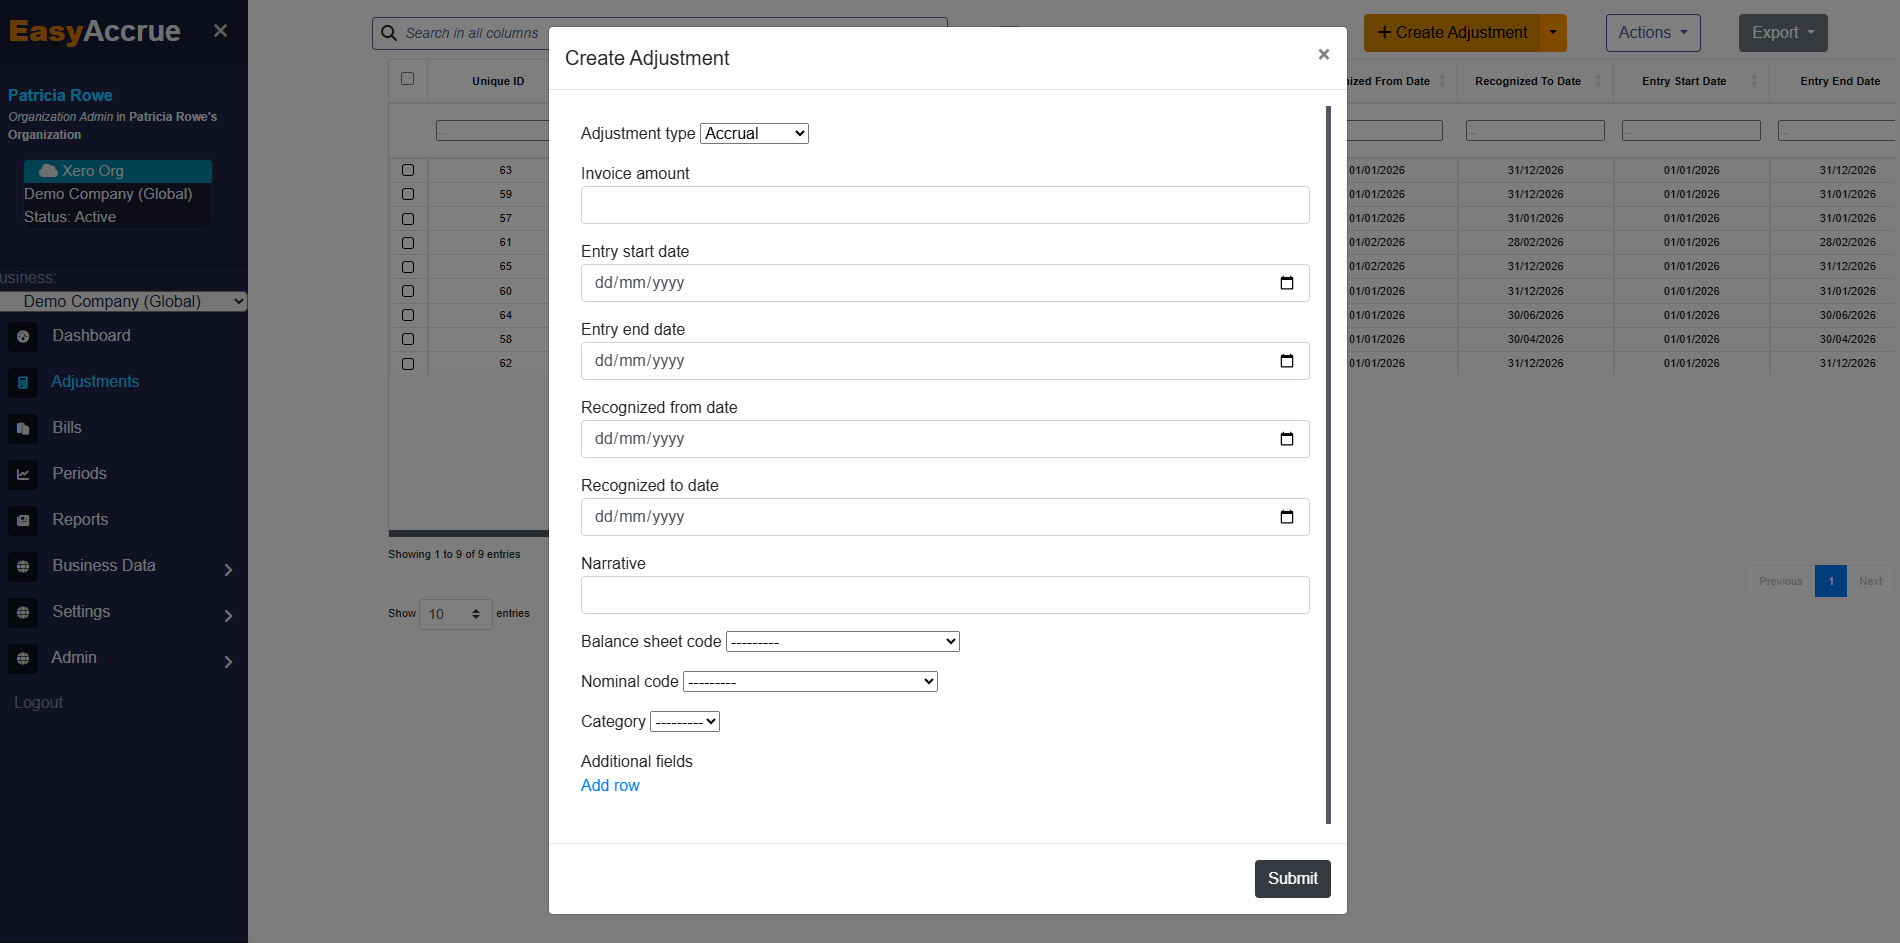
- In EasyAccrue, click the dropdown arrow on the Create Adjustment button
- Select Import Adjustments
- Click Download Template File
This gives you a CSV template with all the column headers you need to complete.
Step 2: Fill in your adjustments
Open the template file and complete each row with your existing adjustment data. Each row represents one adjustment. The table below explains what each column requires.
You can also add additional column headers if you want to include custom data columns.
One thing you do not need to worry about
You do not need to calculate the remaining balance left on any existing prepayments. Simply enter the full Recognised From and To dates from the original invoice and EasyAccrue will automatically calculate the correct remaining balance for you. EasyAccrue works out how much has already been recognised and how much is still to be spread across future periods, so there is no manual calculation required on your part.
Step 3: Save as a plain CSV file
Once you have filled in all your adjustments, save the file in plain .csv format. This is important because other formats such as .xlsx will not upload correctly.
After saving, open the file in a plain text editor such as Notepad or Sublime Text and check that the data looks as expected. This quick check can save you time by catching any formatting issues before you upload.
Step 4: Upload the file
Back in EasyAccrue, select your completed CSV file and submit it. A progress bar will show you how the import is progressing.
If there are any issues with the file, no adjustments will be created and EasyAccrue will display details of what needs to be fixed. Correct the issues in your file and reupload.
Step 5: Reconcile with your original figures
This is an important step that should not be skipped.
Once your adjustments have been imported, view the relevant period in EasyAccrue and export the period data. Check that the total adjustment amounts in EasyAccrue match your original manual figures exactly.
Any differences will need to be corrected within EasyAccrue before you proceed. Getting this right at the start ensures your reports are accurate from day one.
Need help?
If you run into any issues during the import process, feel free to reach out at support@easyaccrue.com. We are always happy to help you get set up.